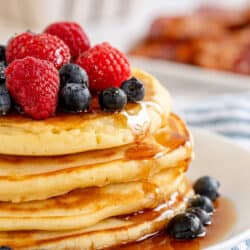
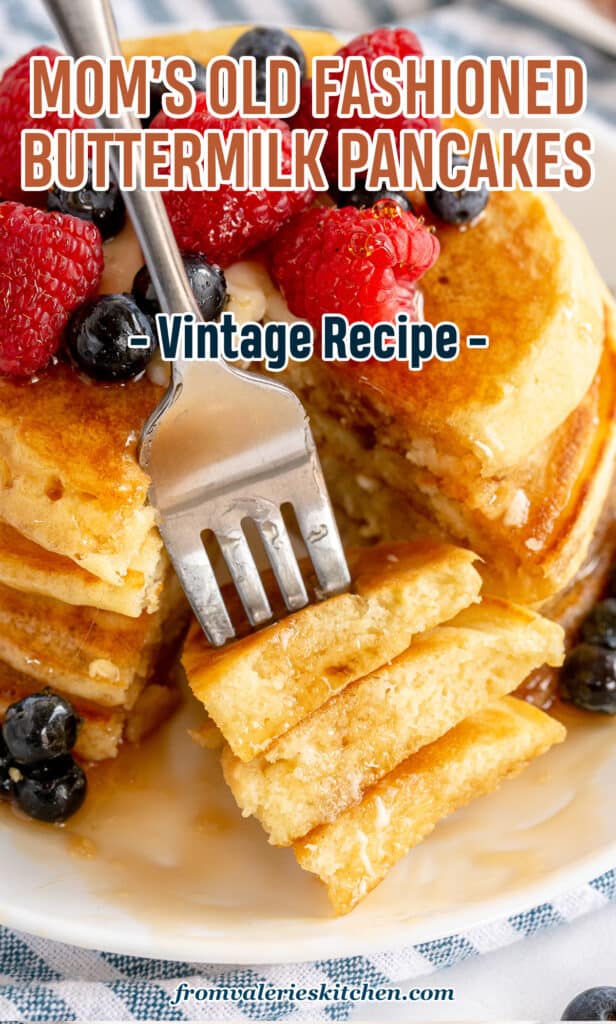
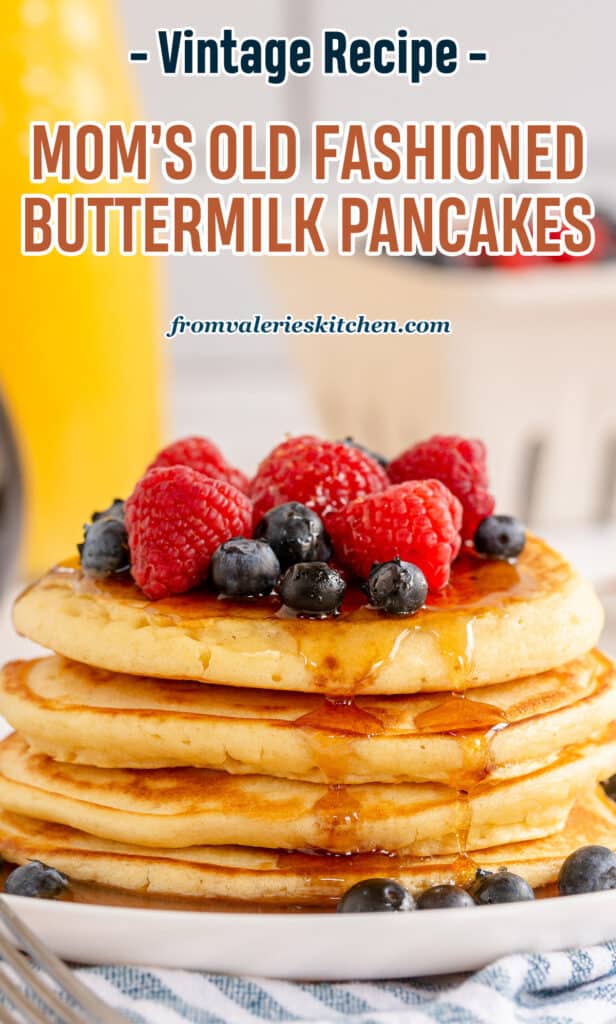
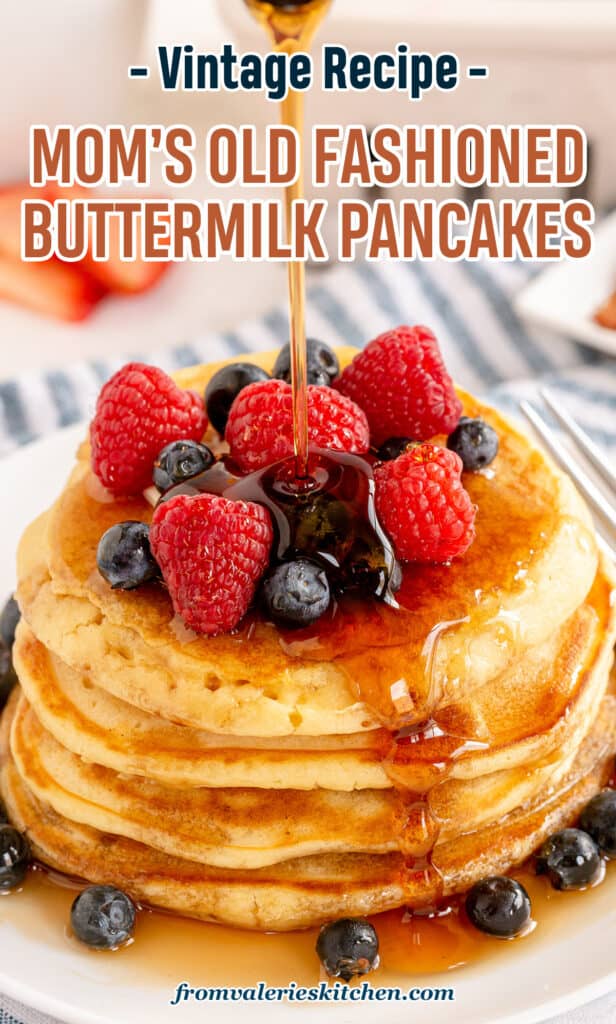
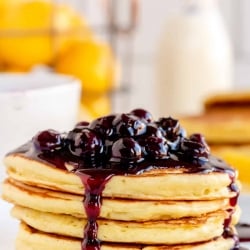
These golden, fluffy Old Fashioned Pancakes are full of nostalgic flavor. Make a batch for a classic, comforting breakfast that’s perfect for a lazy Sunday morning.
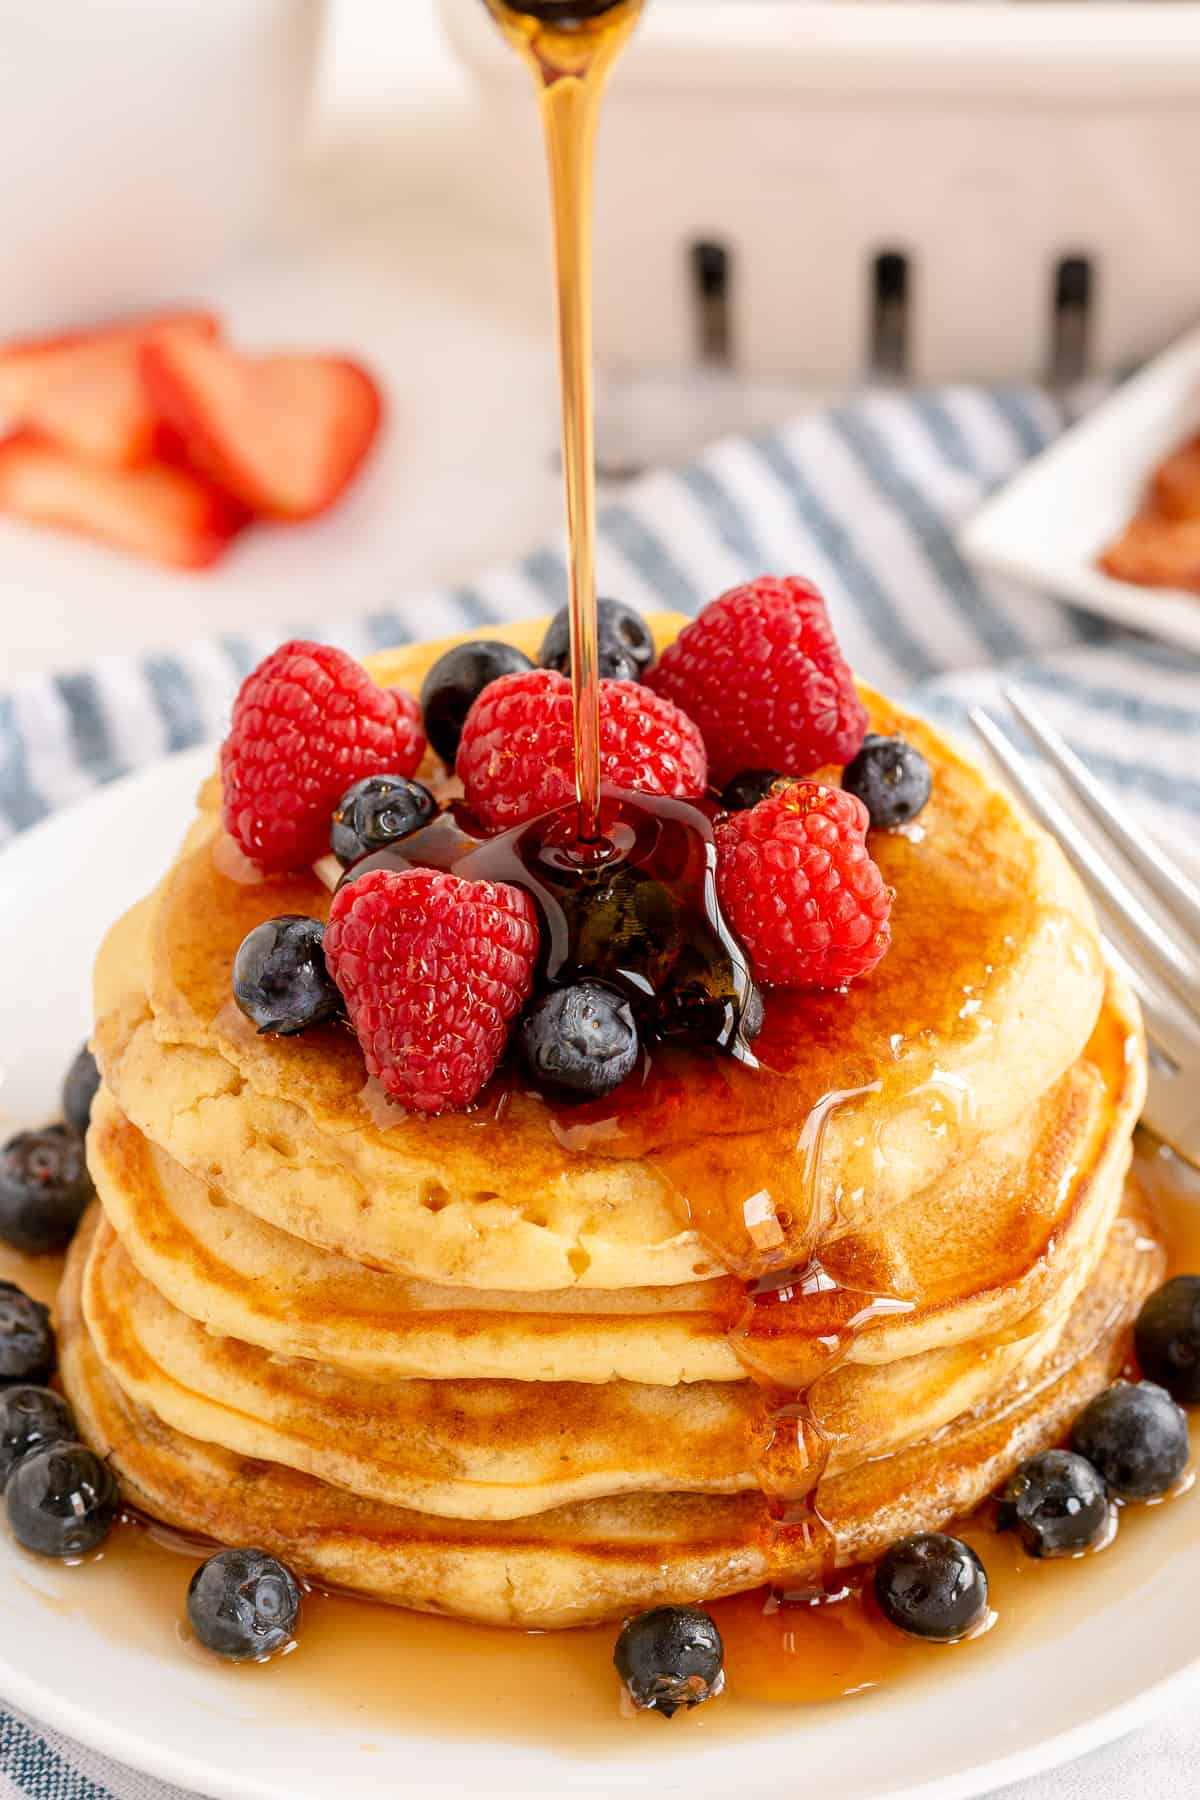
This buttermilk pancake recipe is my mom’s and it goes WAY back. Just like my Homemade Waffles, her Old Fashioned Pancakes made from scratch are a true classic that will always be one of the most delicious ways to start the day.
As we approach Mother’s Day and so many great memories come rushing back, I thought it was fitting to refresh this post.
When I was very young, it was a common occurrence to have crowds of people in our house for Mom’s pancake breakfasts. My big family alone was enough to fill our house but add in all the spouses of my older sibs, the grandkids, and a few friends and neighbors, and it was a party. There were countless pancakes coming out of that kitchen!
I’ve scaled down Mom’s recipe to work for a small family, or even a couple (with leftovers). But, it can easily be scaled up if you have a pancake party in your future.
Table of contents
Ingredient Notes
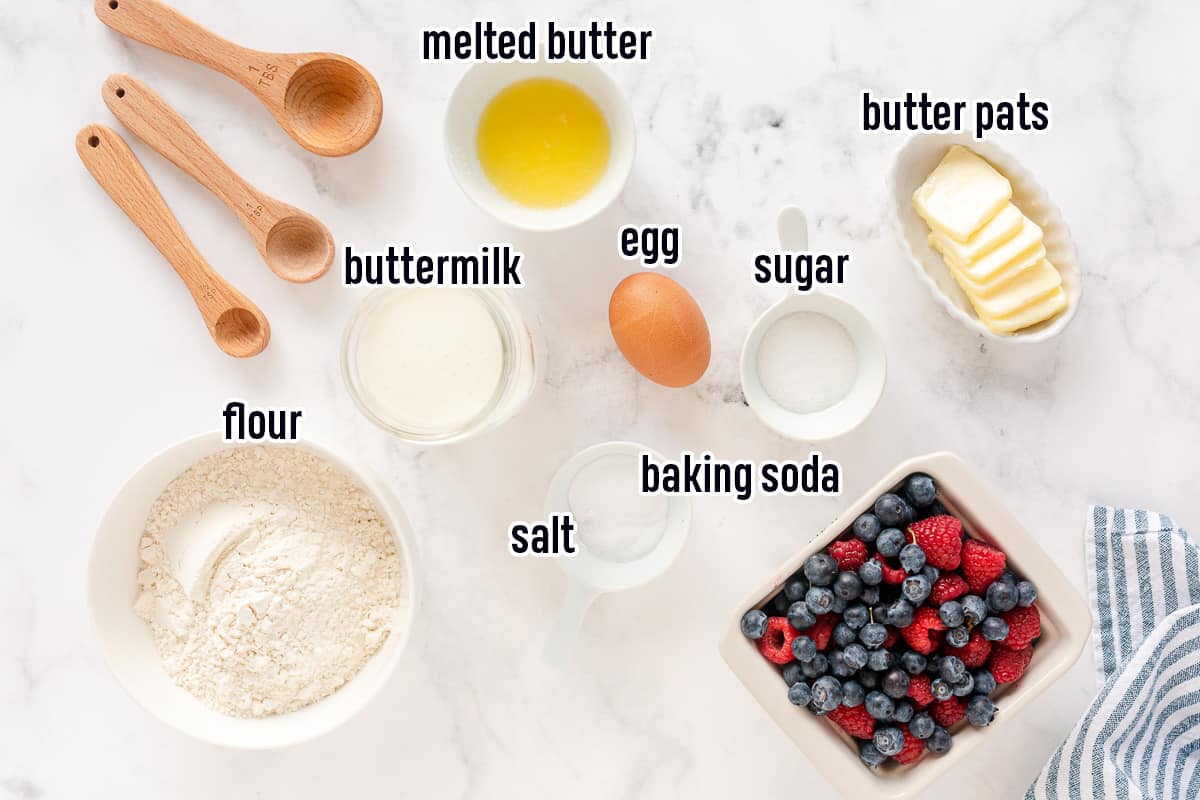
- Dry ingredients – All-purpose flour, baking soda, salt, and sugar.
- Wet ingredients – Buttermilk, a large egg, and melted butter that has slightly cooled. Although not in Mom’s vintage recipe, you can also add a little pure vanilla extract to warm up the flavor a bit, if you’d like.
- For cooking – Nonstick cooking spray.
- For serving – Butter pats, fresh berries, and maple syrup.
The home cooks from my mom’s era used bacon fat to cook their pancakes. There was no waste in the kitchen in those days and bacon fat was saved and reused before it was tossed out. I opt to cook my pancakes on a griddle coated with nonstick cooking spray. You can use a little vegetable oil instead, if you’d like.
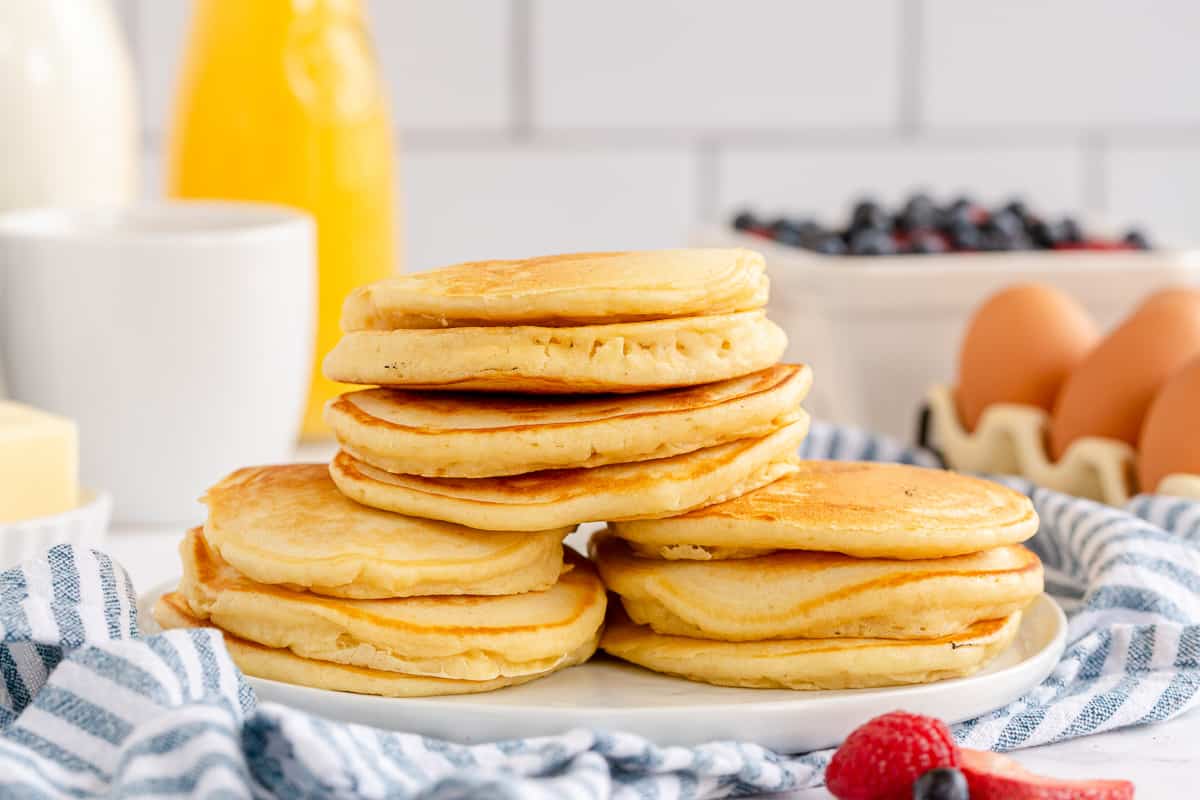
How to Make Pancakes From Scratch
This is a quick overview of how to make this recipe. You’ll find detailed instructions in the recipe card at the end of this post.
Make the Pancake Batter
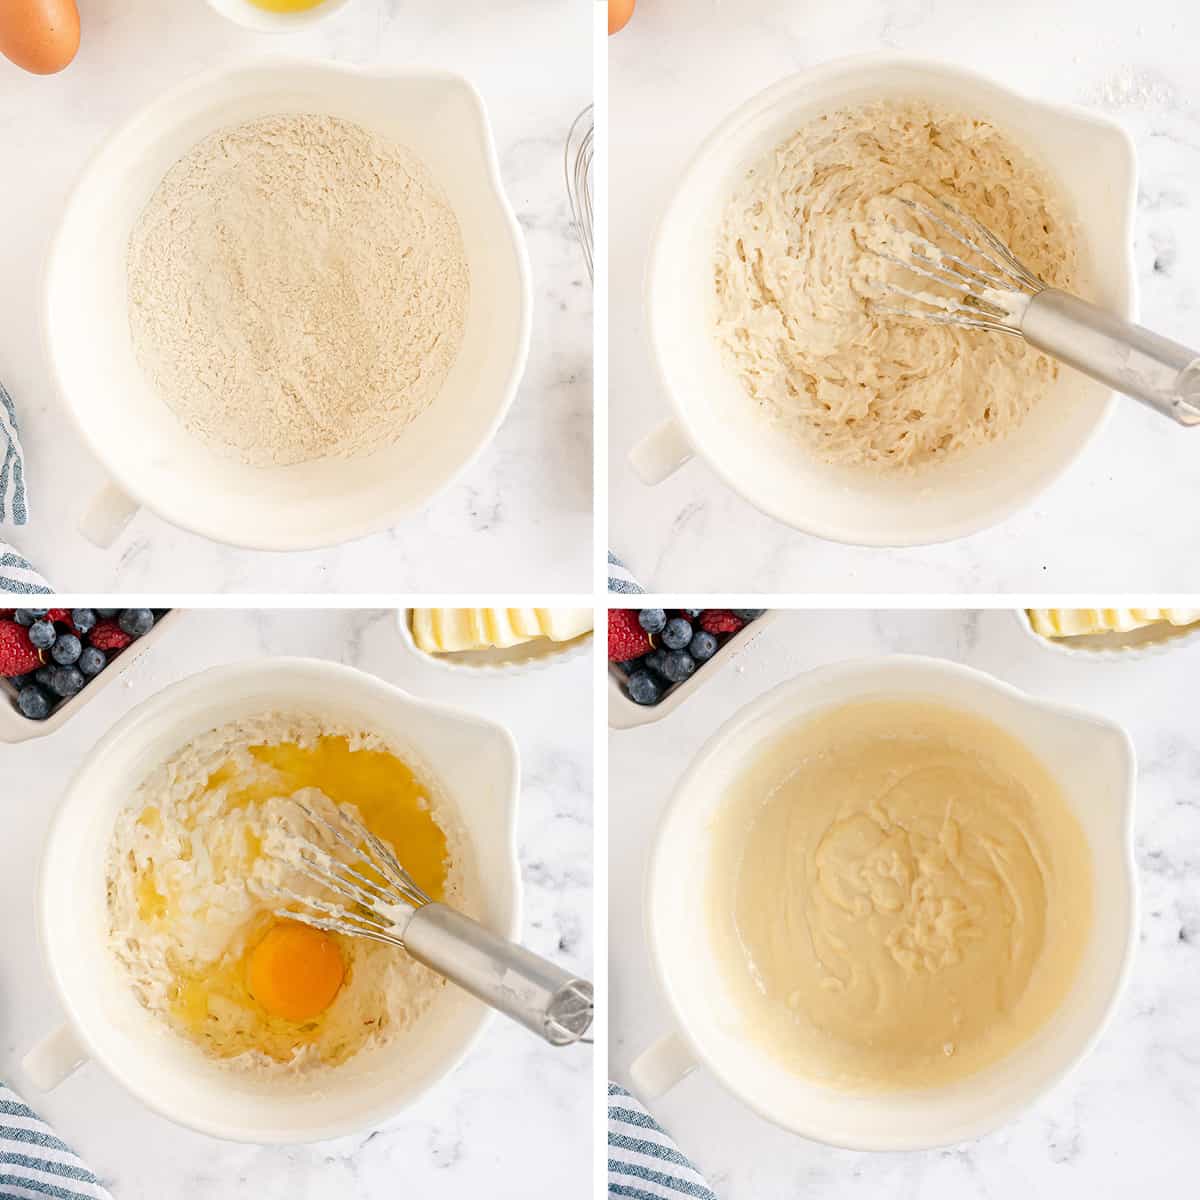
- In a large bowl, whisk together the flour, baking soda, salt, and sugar.
- Add the buttermilk and whisk, just until the dry ingredients are moistened.
- Next, add the egg, vanilla (if using), and melted butter.
- Whisk again just until the ingredients are combined. The batter will be bit lumpy. Let the batter rest for 5 to 10 minutes.
Cook the Pancakes
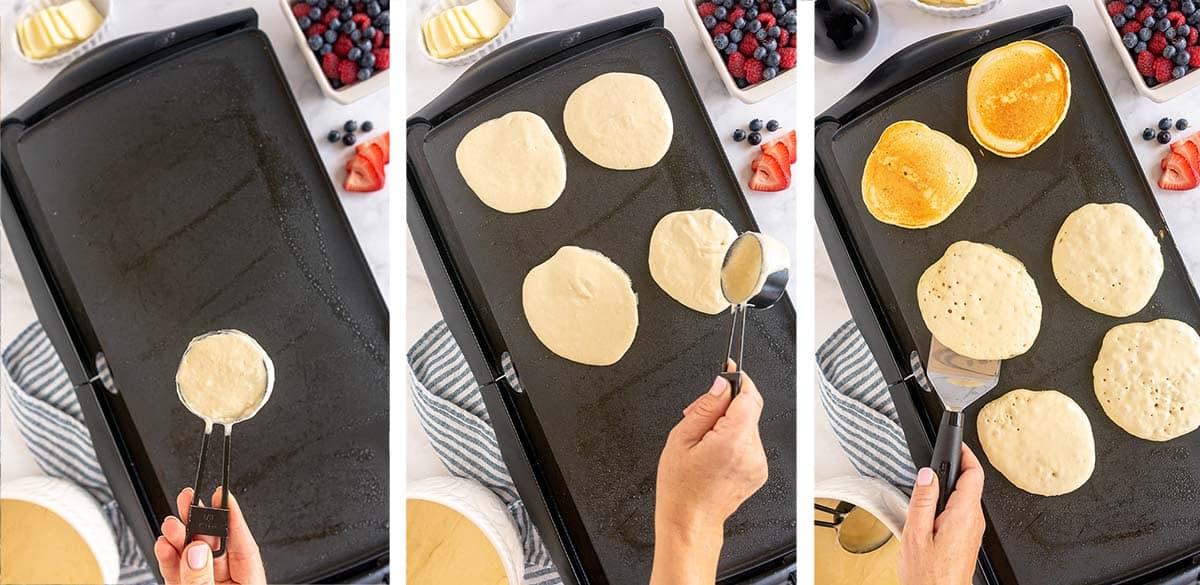
- Coat a nonstick electric griddle or a large pan with nonstick cooking spray (or vegetable oil). Use a measuring cup to pour pancake batter on to the hot griddle (or pan).
- Repeat, leaving some space between the pancakes. Cook for about 2 minutes or until lightly browned on the bottom.
- When you see bubbles begin to form on the surface, lift up the edge of the pancake with your spatula to see the bottom. When it is nicely browned, flip the pancakes over and cook for another minute or two. Transfer the first batch to a platter and cook the remaining pancakes.
Mom’s Tip
After flipping the pancakes, my mom would use the tip of her spatula to make an indentation in the cooked side. Then, she’d place a butter pat on top of each pancake. The indentation helps the pancakes cook through and as the butter melts, it infuses the pancakes with even more buttery flavor.
Tips for the Best Old Fashioned Pancakes
- Use Buttermilk – The acid in buttermilk reacts with the baking soda to create lighter, fluffier pancakes. If you don’t have buttermilk, just pour 1 tablespoon of lemon juice or vinegar into a 1 cup measure and then fill the rest of the measuring cup with milk. Gently stir the mixture and let it rest for about 5 minutes.
- Don’t Over-Mix – For light, fluffy pancakes, be careful not to over-mix the batter. Use a handheld whisk instead of an electric mixer to help avoid overworking the batter.
- Rest the Batter – Allow the batter to rest for 5 to 10 minutes before cooking. This gives the buttermilk a little time to activate the baking soda and create air pockets in the batter, resulting in lighter pancakes.
- Measure the Batter – Use a measuring cup to measure out and pour the batter onto the pan so they will be even-sized. A 1/4 cup measure will create small pancakes or use a 1/3 cup measuring cup for slightly larger pancakes.
- Perfect Round Pancakes – If you want to be a pancake pro, pick up a batter dispenser to create perfectly round pancakes.
- Keep Warm – Preheat your oven to 200 degrees F and transfer the first batch of cooked pancakes to the oven while you cook the second batch.
Pancake Storage Tips
Refrigerator – Transfer leftover pancakes to a zippered plastic storage bag or other airtight container and refrigerate for up to 4 days. Reheat in the microwave in 10 second increments until warmed through. For a larger amount, place them in a baking dish, cover with foil and bake in a 350 degree F oven for 5 to 10 minutes.
Flash Freezing Pancakes – Lay the pancakes in one layer on a baking sheet and place it in the freezer for at least an hour, or until frozen solid. Once frozen, they can be transferred to a freezer-safe plastic storage bag. Label the bag with the date and freeze for up to 3 months. Reheat frozen pancakes in the microwave for about 20 to 30 seconds, per pancake, or until warmed through.
More Breakfast Recipes You’ll Love
For a glimpse into our life when this post was first published, scroll past the recipe card.
Sign up for my free newsletter for all the latest recipes and join me on Facebook, Instagram and Pinterest for more cooking inspiration!
Mom’s Old Fashioned Pancakes
Ingredients
- 1 cup all-purpose flour
- 1 teaspoon baking soda
- ¼ teaspoon salt
- 1 tablespoon granulated sugar
- 1 cup buttermilk
- 1 large egg
- 2 tablespoons butter, melted and slightly cooled
- 1 teaspoon pure vanilla extract, optional
- nonstick cooking spray or vegetable oil, for cooking
For Serving
- Butter pats, fresh berries, and pure maple syrup
Instructions
- In a large bowl, whisk together the flour, baking soda, salt, and sugar. Add the buttermilk and whisk just until all dry ingredients are moistened. Add the egg, melted butter, and vanilla extract (if using), and whisk just until combined. Batter should be a bit lumpy.
- Allow the batter to rest for 5 to 10 minutes.
- Set an electric griddle to 350 degrees degrees F. Alternately, place a large skillet over MEDIUM heat. Coat the griddle or skillet with nonstick cooking spray (or vegetable oil).
- Using a ¼ or ⅓ cup measure (see notes below), measure and pour the pancake batter on to the hot griddle or pan. Repeat, leaving some space between the pancakes. Cook for about 2 minutes or until lightly browned on the bottom. Use a spatula to carefully flip the pancakes. Allow to cook for another minute or two then transfer to a platter and repeat with remaining batter.
- To keep warm, place the pancakes on a baking sheet and transfer to a 200 degree F oven while you cook the 2nd batch.
- Serve with butter pats, maple syrup, berries, or any other pancake toppings you love.
Notes
- ¼ dry cup measure – approximately 8 pancakes
- ⅓ dry cup measure – approximately 6 pancakes
- Refrigerator – Transfer leftover pancakes to a zippered plastic storage bag or other airtight container and refrigerate for up to 4 days. Reheat in the microwave in 10 second increments until warmed through. For a larger amount, place them in a baking dish, cover with foil and bake in a 350 degree F oven for 5 to 10 minutes.
- Flash Freezing Pancakes – Lay the pancakes in one layer on a baking sheet and place it in the freezer for at least an hour, or until frozen solid. Once frozen, they can be transferred to a freezer-safe plastic storage bag. Label the bag with the date and freeze for up to 3 months. Reheat frozen pancakes in the microwave for about 20 to 30 seconds, per pancake, or until warmed through.
Nutrition
Nutrition information is automatically calculated using generic ingredients, and is an estimate not a guarantee. For more accurate results, please refer to the labels on your ingredients at home.
This post was originally published August 5, 2012. It has been updated with new text and images.
A quick look back at August of 2012.
It’s been an eventful week. There was the trip to Seattle, then returning home to the piles of work that had accumulated in my absence, then this happened.
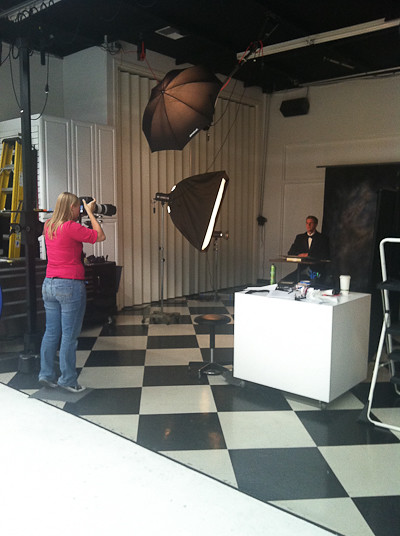
Somehow, inexplicably, it was time for Boy #4 to have his graduation photo taken. It was the first time for him, the last for me. I blinked and it has become the summer before his senior year of high school. I’ve sat through these photo sessions three times previously with his older brothers. Each time it was touching, this time was different.
The photographer’s assistant must have noticed my weak emotional state so he allowed me to come into the studio and stand quietly in the back. I was instructed not to “bug the photographer” and I heeded this warning, only interrupting once to tell him to straighten his bow tie.
It felt like it was over in 30 seconds, and as he walked towards me in the tux jacket and his basketball shorts, I felt it coming. The eyes filling with tears, the throat closing up, and he saw it too. I made a quick exit as he made his way to the changing rooms so I wouldn’t melt into an embarrassing, weeping, mess in front of everyone. I managed to pull myself together but it was a close call. I imagine that over the course of the next year, I will be experiencing many of these close calls. Firsts for him, and lasts for me. My baby, is going to graduate.
Updated to add in May 2023 – Our “baby” will be graduating from law school next month. One more graduation, and mama is packing the Kleenex!



They look so yummy and I especially love the plate!!!
I’m definitely trying the butter trick! I love the butter burnt (brown butter?) taste and when pancake gets crispy a bit… ohhh.. heaven! I have a pancake post coming up but next time I’m going to try your mom’s recipe!
There is nothing better than homemade pancakes. Great recipe.
Please have me over for breakfast. If someone made me these I’d eat breakfast every day.
You can come by for breakfast anytime Kim! I mean your just a hop, skip, and a jump away, right? 🙂
You are preparing for a new journey in your life. Embrace it!
I can’t think of a better way to honor your family traditions than by preparing a favorite meal, with lots of memories.
Cheers.
Velva
oh dear…. That was indeed touching… I wouldn’t imagine just being almost a mess…. I would be one of those hysterically embarrassing mom who leaves the kids no choice but to be un-cool and nerdy. you know it ;).. Nevertheless, a happy occasion! Deserving of a mom’s pancake!
It really does go by so fast! Everyone tells you that when you have a baby and still we are always so unprepared. I’m sure it will be no time before my little girl is graduating high school. I can’t even think about it.
Gorgeous pancakes!
What a sweet story about your son’s grad photo shoot! It brought tears to my eyes just reading it. 🙂 I can definitely just look at these pancakes and tell they are somebody’s grandma’s pancakes! I can taste them too! Thanks for posting the best buttermilk pancake recipe!!!!! Going to be making these this weekend!
I hope you enjoy them MJ 🙂
The story about your baby boy graduating high school made me tear up a little, and so fitting too to make your mom’s pancakes. They look beautiful. I like the idea of using a stove top grill, because you can fit so many more pancakes!
Such a sweet story-awwww!! I love that your shared your mom’s pancake recipe! They look absolutely beautiful, perfect, delicious!
Thanks Kayle! I’m glad you stopped by 🙂
I could use some pancakes, right now … Happy Sunday 🙂